Use readable contrast
Start with black or dark text on lighter coloured, fluorescent, kraft and metallic backgrounds. Check fine lines and small text on the actual material.
Free UK Delivery On Orders Over £60

Sign up and get 15% off your first Go2Products order, plus occasional offers and product updates.
A4 LABEL PRINTING GUIDE
Choose a material that suits your printer, prepare artwork with clear contrast and use the exact A4 template. Follow these checks for coloured, fluorescent, metallic, kraft and white sheet labels.
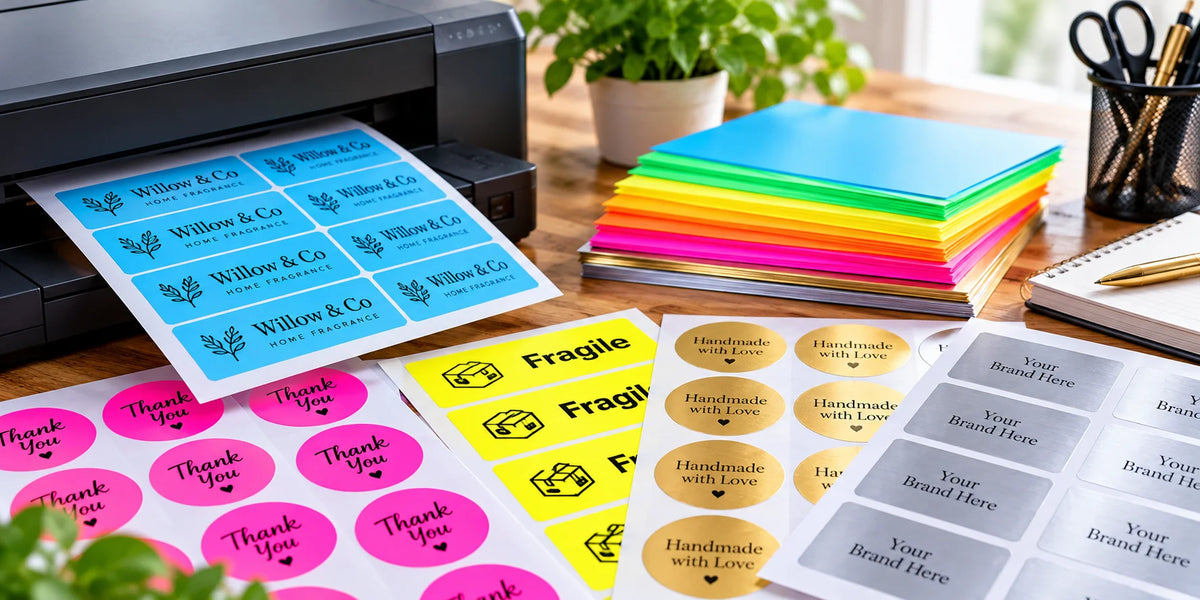
BEFORE YOU PRINT
Printer compatibility, the sheet layout and your artwork all affect the result. A template positions the design; it does not make an unsuitable label material compatible with your printer.
STEP 1 · PRINTER COMPATIBILITY
This table covers the specific Go2Products ranges linked below. Check your printer manual for support for self-adhesive sheets and the appropriate feed method.
Swipe the table sideways on a small screen.
| Label range | Inkjet | Compatible laser printer |
|---|---|---|
| Matt coloured: red, green, yellow & blue | Yes | Yes |
| Fluorescent paper | No | Yes |
| Metallic gold & silver | No | Yes |
| Brown kraft paper | Yes | Yes |
| Matt white paper | Yes | Yes |
Do not assume another supplier’s fluorescent or metallic material has the same specification. Always follow the instructions for the exact product you buy.
STEP 2 · PREPARE YOUR ARTWORK
Start with black or dark text on lighter coloured, fluorescent, kraft and metallic backgrounds. Check fine lines and small text on the actual material.
The material colour affects printed artwork. Bright brand colours may change on coloured paper, and kraft may produce a more muted result.
Do not stretch or distort barcodes and QR codes. Preserve the clear area around them and test the final label with the equipment your customers use.
Keep important text and detail safely inside the label edge. Avoid fine borders close to the cut line, where small feed differences are more noticeable.
Metallic material provides the background finish. It does not mean your printer applies metallic foil or white ink. Test dark artwork before a full run.
Choose matt white paper if your design depends on an unprinted white background. Specialist requirements should be checked before ordering.
STEP 3 · ALIGN THE SHEET
IF SOMETHING LOOKS WRONG
Check page size, scaling, tray alignment and the exact template. If every row is displaced by the same amount, adjust the template or printer alignment only after checking these settings.
Check for scaling, an incorrect label pitch or a template mismatch. A simple position adjustment may not fix a layout that becomes progressively further out.
Stop the run. Confirm printer compatibility and the approved media setting. Allow inkjet prints to dry as appropriate and test handling. If adhesion remains poor, ask for advice before using more sheets.
Compare the artwork on the actual material. Coloured, kraft and metallic backgrounds can alter colour appearance. A plain white paper proof is useful for position, but not a final colour match.
Your printer may have left the white areas unprinted. The label material shows through. Change to a suitable dark design or use a white label where a white base is needed.
Stop and check the printer’s media instructions, sheet condition and feed path. Do not force unsuitable stock through the printer or reuse damaged sheets.
Choose an available material, size and quantity on our personalised sheet label product. For a particular finish, another size or help with artwork, request a quote before ordering.
Choose between standard colours, fluorescent, metallic, kraft and white.
Organise stock, shelves, paperwork and work stages with clear labels.
YOUR QUESTIONS ANSWERED
Our standard matt coloured, brown kraft and matt white paper labels support compatible inkjet and laser printers. The fluorescent and metallic ranges linked in this guide are for laser printing, not inkjet printing. Check the product and your printer manual before loading label sheets.
No. The Go2Products fluorescent A4 label range covered here is designed for laser printing. Choose an inkjet-compatible material if you use an inkjet printer.
The metallic gold and silver A4 labels covered here are for laser printing and are not recommended for inkjet printers. Ink may not absorb correctly into the metallic surface. Always use a printer that supports the selected media.
Most standard home and office printers do not print white ink or toner. White areas in a design normally remain unprinted and show the material beneath. Use a white label when your artwork needs a white background, or request advice about specialist printing.
The label background affects the appearance of printed ink or toner. Colours may look more muted on kraft or change on coloured and metallic materials. A screen preview or plain white paper test does not confirm the final colour; test the actual label material.
Use 100% or Actual Size and disable Fit to Page or other scaling. Match the document to A4, use the exact label template and check alignment on plain paper before printing a label sheet.
You can use the same template when the label dimensions, sheet margins, pitch and complete layout match exactly. A similar label size or the same number of labels per sheet does not guarantee a match.
Use strong contrast, preserve the required clear area around the code and test the final printed label with the intended scanner or phone. Coloured or metallic backgrounds may affect reading. Black print on white is a useful starting point.
Follow your printer and label manufacturer instructions. Refeeding partially used sheets can increase the risk of detached labels or jams. Where instructed to use complete sheets only, start with a new sheet rather than reusing a partially used one.
Yes. Our personalised sheet labels provide a professionally printed option using available sizes and materials. Choose your specification on the product page, or request a quote for advice about a particular finish or artwork requirement.